What’s Stopping Your Stream from Reaching the Next Level? It Might Be Your Lighting.
Do you wonder why your stream isn't gaining more viewers?
You might have the best games and a great microphone—but poor lighting could be holding you back.
Many streamers overlook lighting, but it's a key part of a professional-looking stream.
In this article, you'll learn:
- What proper lighting for streaming is.
- Steps to improve your lighting setup.
- Best practices for amazing stream lighting.
- Common challenges and how to fix them.
- Tools and resources to help you shine.
Let's dive in and see how lighting can boost your stream.
What Is Proper Lighting for Streaming?
Proper lighting means setting up lights so your stream looks clear and bright. It helps your viewers see you better and makes your stream look more professional.
Good lighting removes shadows and highlights your face.
Imagine watching a stream where the streamer is hard to see because it's too dark. You'd probably move on to another channel, right?
Good lighting keeps viewers engaged and watching longer.
Now, let's explore common lighting mistakes and how to fix them.
Mistake #1: Using Only Overhead Lights
Relying on ceiling lights casts shadows on your face.
Why it's important: Shadows make it hard for viewers to see your expressions.
- Overhead lights can create dark spots under your eyes.
- They might make you look tired or unhappy.
To fix this, add lights in front of you at eye level. This brightens your face evenly.
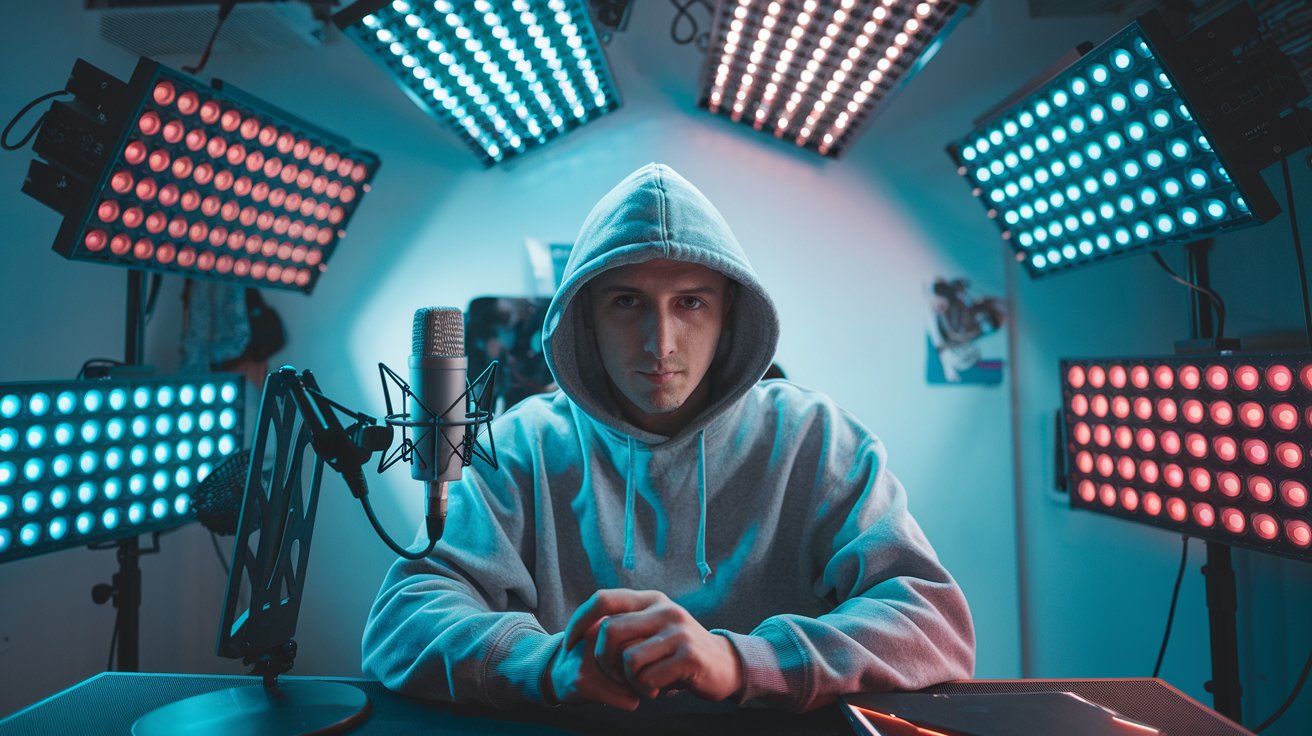
Mistake #2: Ignoring LED Lights
LED lights add color and brightness to your stream.
Why it's important: Bright streams keep viewers interested.
- LEDs are energy-efficient.
- They offer fun color options to match your style.
Try adding LED strips behind you or around your desk. They create a cool background that attracts viewers.
Mistake #3: Not Using Soft Lighting
Harsh lights can create sharp shadows.
Why it's important: Soft lighting makes you look your best.
- Softboxes spread light evenly.
- Diffusers reduce harshness from strong lights.
Using soft lighting helps your stream look smooth and professional.
Mistake #4: Forgetting About Backlighting
Backlights add depth to your stream.
Why it's important: They help you stand out from the background.
- Backlights can highlight your outline.
- They add a glow that makes your stream pop.
Adding a backlight can make a big difference in how your stream looks.
Mistake #5: Poor Light Positioning
Placing lights in the wrong spots can cause problems.
Why it's important: Proper placement avoids glare and shadows.
- Lights should be at eye level or slightly above.
- Avoid shining lights directly into the camera.
Experiment with different positions to find what works best.
Best Practices for Stream Lighting
Here are tips to make your lighting amazing:
- Use a Three-Point Lighting Setup
- Key Light: Main light shining on your face.
- Fill Light: Reduces shadows from the key light.
- Back Light: Separates you from the background.
This setup is used by professionals for balanced lighting.
- Choose the Right Color Temperature
- Warm Lights (soft yellow): Cozy and friendly feel.
- Cool Lights (bright white): Modern and energetic vibe.
Pick a temperature that matches your stream's mood.
- Invest in Good Equipment
- Quality lights have better brightness and features.
- They last longer and are more reliable.
Investing in good lights can improve your stream a lot.
- Test Your Setup
- Record short videos to see how it looks.
- Make adjustments as needed.
Testing helps you find and fix issues before you go live.
- Use Light Modifiers
- Diffusers: Soften harsh light.
- Reflectors: Bounce light to reduce shadows.
These tools help control your lighting.
As streamer Mia says, "Good lighting made my stream look so much better!"
Common Challenges and How to Fix Them
Q: My room is small. How can I set up lights?
A: Use compact lights like clip-on ring lights.
- Mount lights on your desk or monitor.
- Use wall-mounted lights to save space.
Q: I have a tight budget. Any affordable options?
A: Yes! There are budget-friendly lights.
- Use lamps with daylight bulbs.
- Shop for deals online.
Q: My room has too much natural light. What can I do?
A: Control natural light with curtains or blinds.
- Stream at times when the light is softer.
- Adjust your lights to balance natural light.
Tools and Resources
Here are some tools to help you improve your lighting:
- Ring Lights
- Provide even lighting on your face.
- Great for close-up shots.
- Examples: Neewer Ring Light Kit, Elgato Ring Light.
- LED Light Panels
- Adjustable brightness and color.
- Compact and easy to position.
- Examples: Viltrox LED Panel, Aputure AL-M9.
- Softbox Kits
- Soften and spread light.
- Ideal for removing harsh shadows.
- Examples: LimoStudio Softbox Kit, Fovitec StudioPRO.
- Smart Lights
- Control lights with an app.
- Sync lights with your stream.
- Examples: Philips Hue, Nanoleaf Panels.
- Reflectors and Diffusers
- Modify and control light.
- Affordable and easy to use.
- Examples: Neewer 5-in-1 Reflector.
Conclusion
Good lighting can transform your stream. By fixing common mistakes and using best practices, you'll make your stream look professional.
Better lighting keeps viewers engaged and helps your stream grow.
So adjust your lights and watch your audience increase!
Ready to upgrade your lighting setup? Explore our collection of LED lighting products to help you shine on your next stream.